Introduction: The New Era of Custom Stone Art
The global stone industry is rapidly shifting from mass production to customized, high-value stone art. Architects, designers, and monument manufacturers increasingly demand unique shapes, artistic sculptures, and personalized stone elements rather than standard slabs or tiles.
Traditional hand carving, although artistic, faces clear limitations:
- Long production cycles
- High labor dependency
- Inconsistent accuracy
- Difficult replication of complex designs
Today, High Quality Stone CNC Machines are redefining how custom stone art is created — combining artistic creativity with industrial precision.
This article explains how CNC technology enables modern stone artistry, supported by real applications, technical comparisons, and frequently asked questions from international buyers.
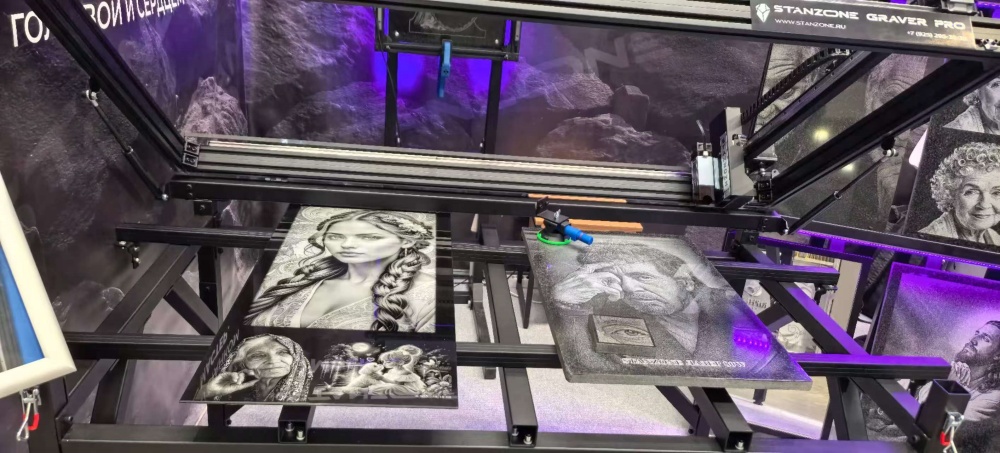
What Is Custom Stone Art in Modern Manufacturing?
Custom stone art refers to non-standard, design-driven stone products manufactured according to specific project requirements.
Typical applications include:
- Architectural Decoration
- 3D wall relief panels
- Roman columns and capitals
- Decorative façade carvings
- Luxury hotel lobby sculptures
Example scenario:
A hotel project requires 120 identical marble relief panels. Using a High Precision 5-axis CNC stone machine, each panel can be reproduced with ±0.02mm repeatability, ensuring visual consistency across the entire building.

Monument & Memorial Industry
- Tombstones and memorial engravings
- Religious sculptures
- Angel statues and customized portraits
In cemetery production environments where machines operate continuously, modern CNC systems can maintain stable cutting performance even after 48–72 hours of uninterrupted operation, reducing manual corrections.
Landscape & Public Art
- Outdoor sculptures
- Garden ornaments
- Fountain structures
- Urban landmark artworks
Complex curved surfaces that previously required master craftsmen for weeks can now be completed in hours.
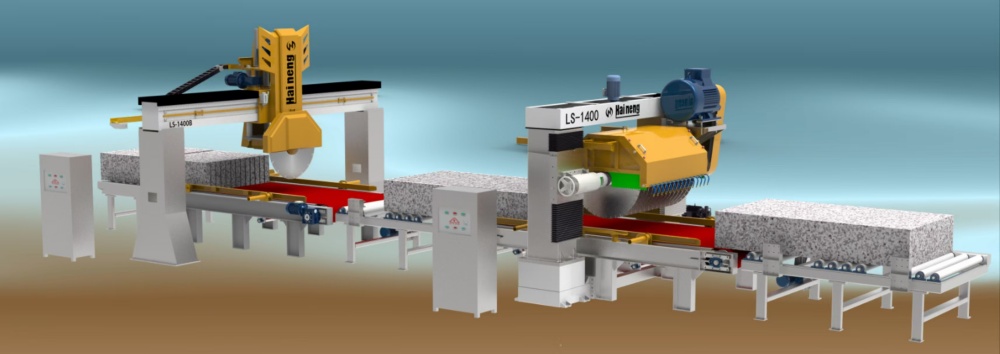
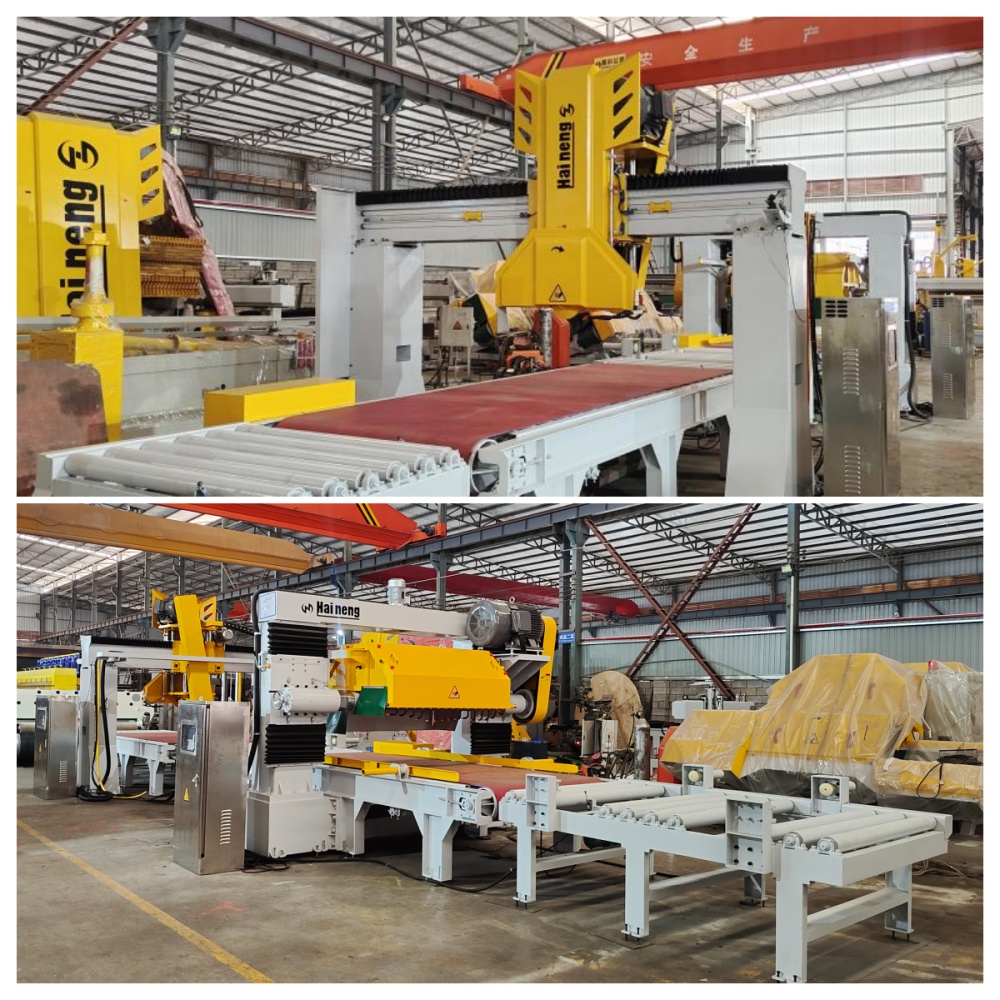
Why CNC Machines Are Ideal for Custom Stone Art
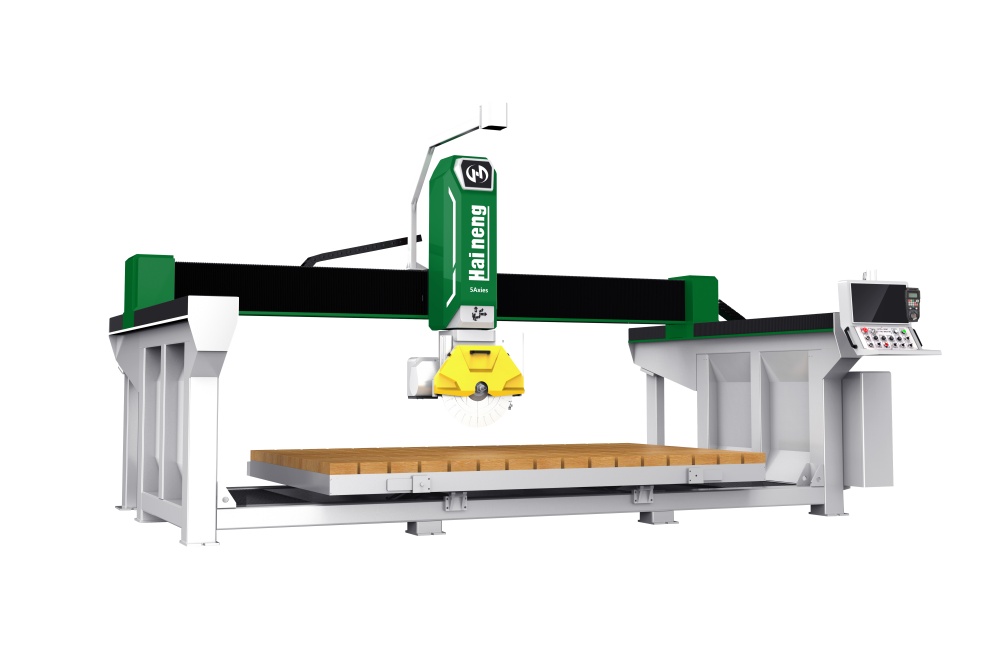
1. Multi-Axis Machining Enables True Artistic Freedom
Modern stone art production is no longer limited to traditional machining structures. The evolution from 3-axis systems to 5-axis CNC machines and 7-axis robotic arms has dramatically expanded creative possibilities in stone processing.
| Machine Type |
Capability |
Typical Applications |
Limitation |
| 3-Axis CNC |
Flat engraving & cutting |
Letters, panels, simple reliefs |
Limited angles |
| 4-Axis CNC |
Rotary carving |
Columns, cylindrical designs |
Restricted geometry |
| 5-Axis CNC |
Full 3D machining |
Sculptures, complex reliefs |
Fixed machine structure |
| 7-Axis Robotic Arm |
Free spatial movement |
Artistic sculpture, large-scale custom stone art |
Higher programming requirement |
A 5-axis stone CNC machine allows the spindle to rotate and tilt simultaneously, making it possible to machine:
- Human statues
- Animal sculptures
- Complex relief carvings
- Irregular artistic components
This significantly reduces manual finishing work.
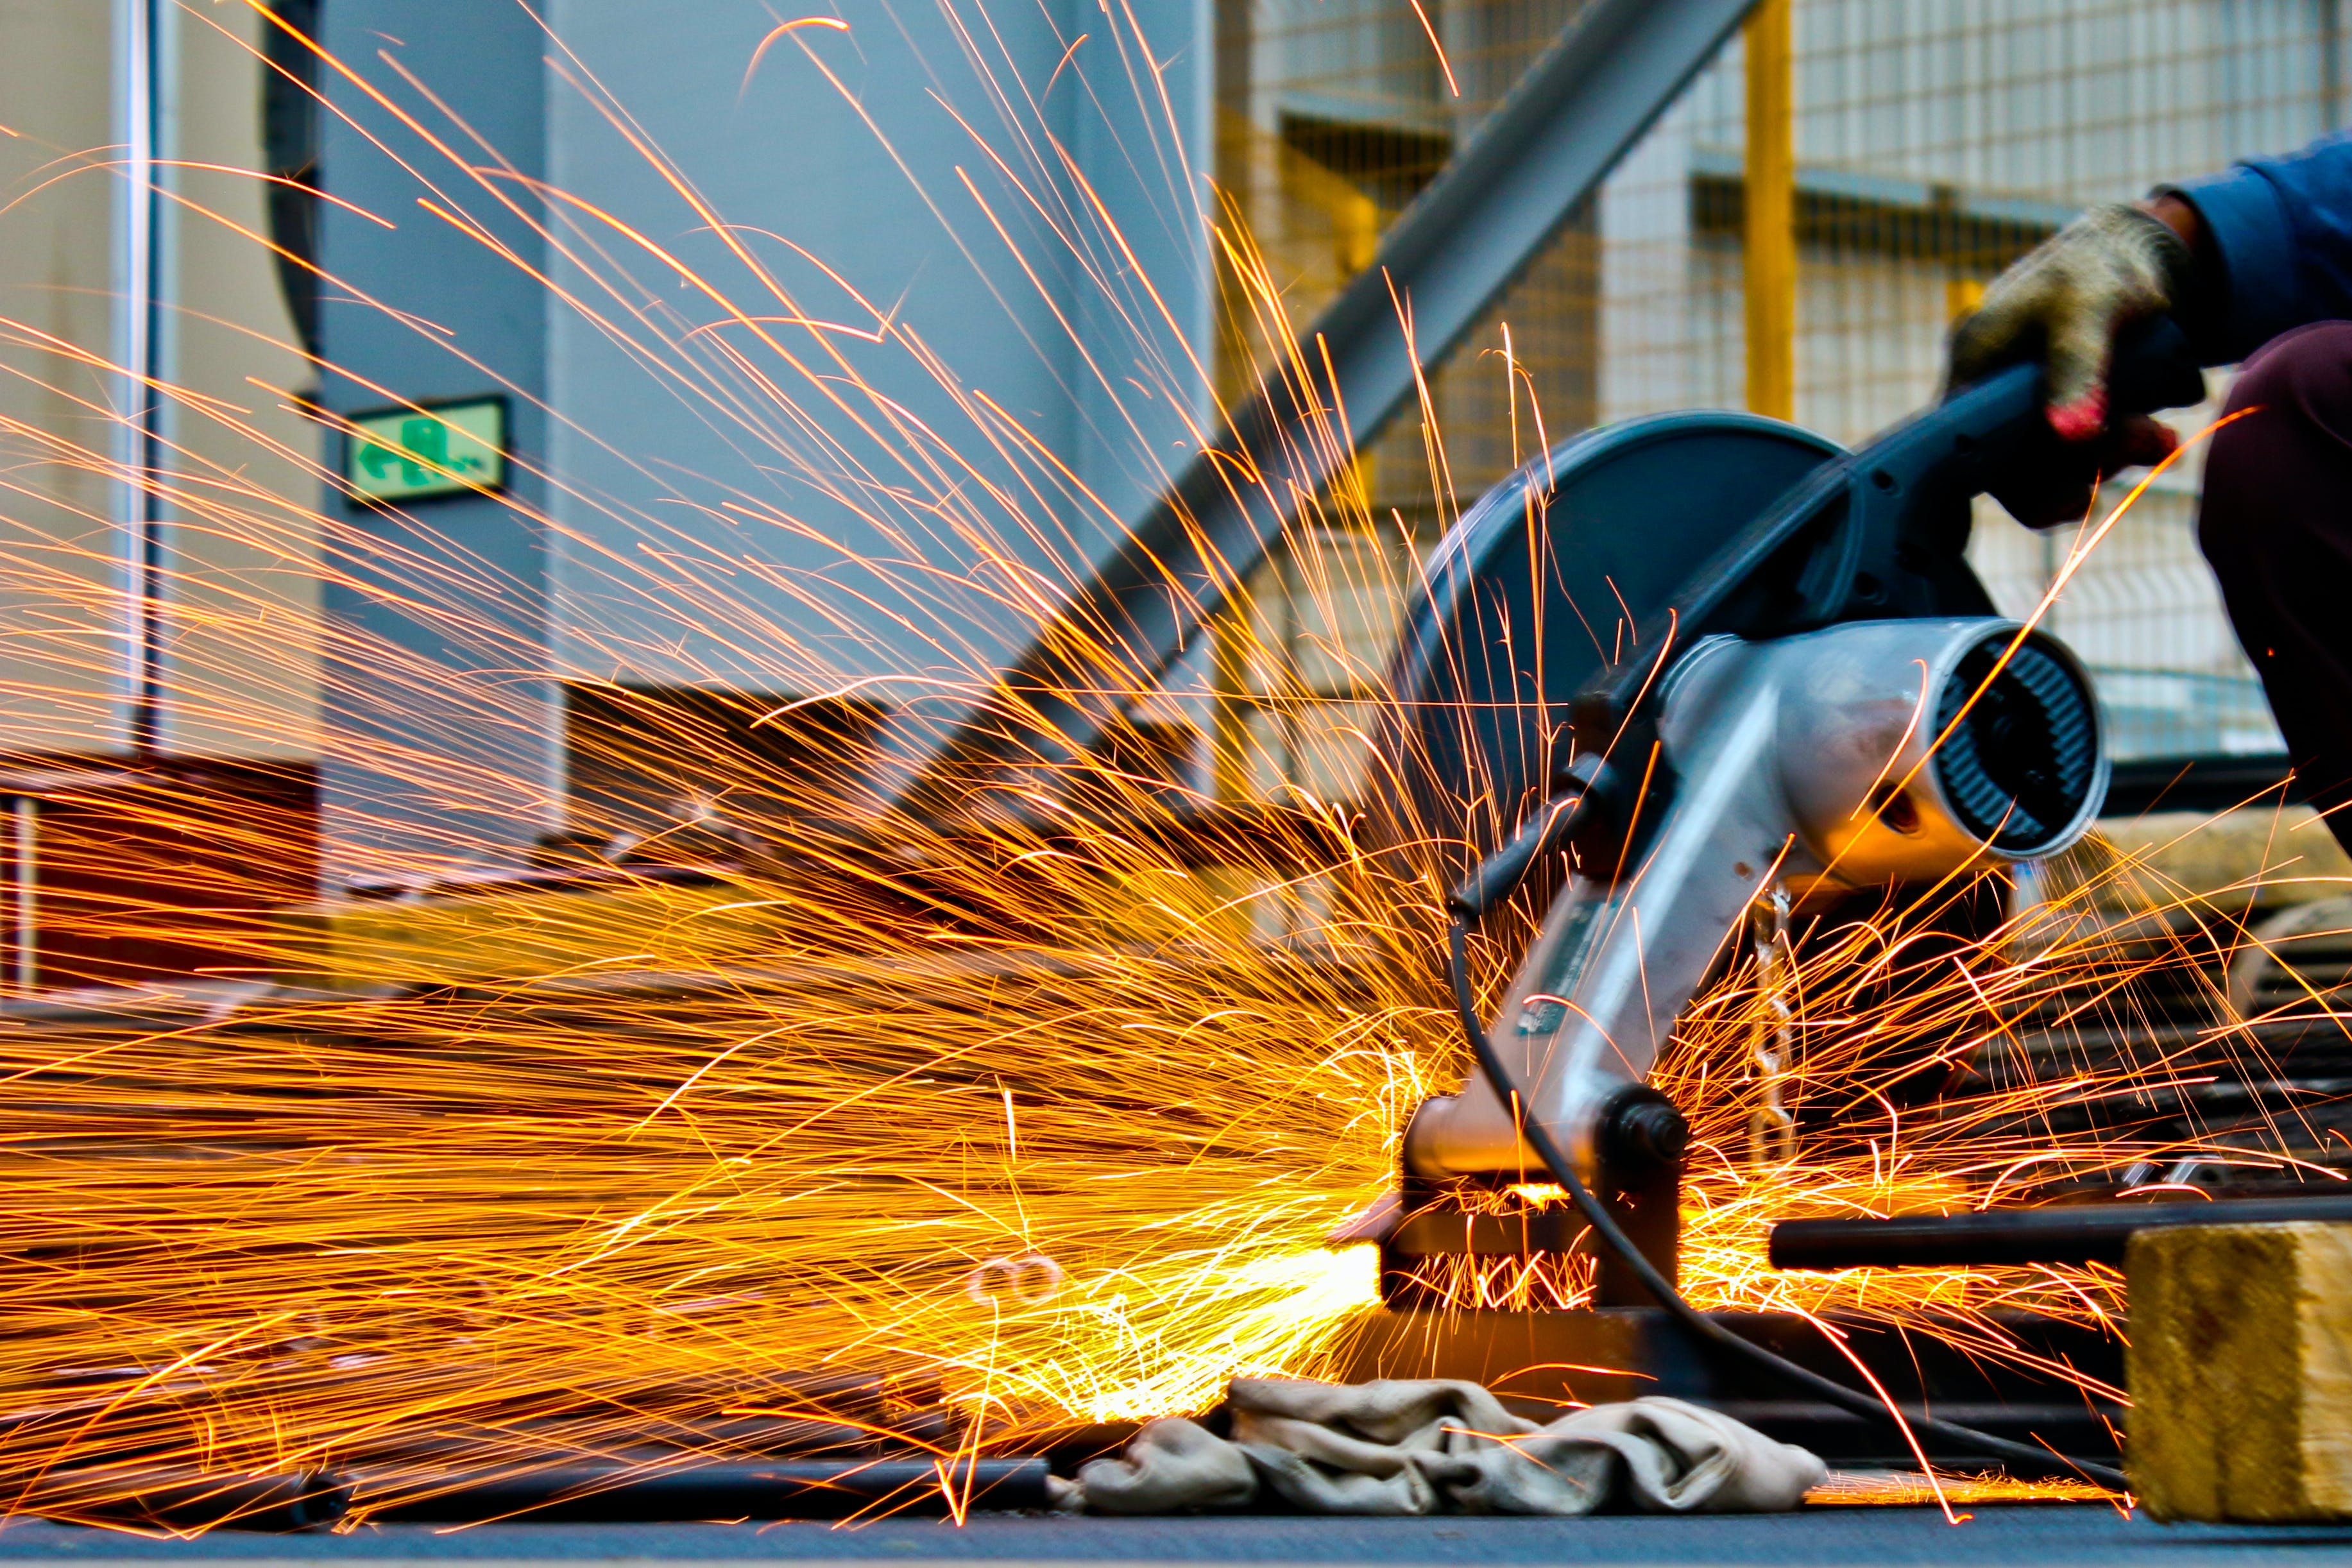
2. Precision That Manual Carving Cannot Achieve
Professional stone CNC machines typically deliver:
- Positioning accuracy: ±0.01–0.03mm
- Continuous heavy-duty operation capability
- Stable cutting even in high-hardness materials such as granite
Real production example:
When carving a marble statue with detailed facial expressions, CNC machining ensures symmetrical geometry that remains consistent across multiple copies — something extremely difficult with hand carving.
3. Digital Workflow Improves Production Efficiency
Custom stone art production now follows a digital chain:
- 3D design (CAD / scanning)
- Toolpath generation
- Automated machining
- Minimal polishing
Design files can be stored permanently, allowing customers to reorder identical products years later.
This is especially valuable for international distributors and monument companies.

CNC Stone Art vs Traditional Hand Carving: A Practical Comparison
| Factor |
CNC Stone Machine |
Manual Carving |
| Production Speed |
High |
Slow |
| Design Complexity |
Unlimited |
Skill-dependent |
| Repeatability |
Excellent |
Difficult |
| Labor Cost |
Lower long-term |
High |
| Artistic Detail |
High precision |
Depends on artisan |
Many factories today adopt a hybrid model:
CNC machining for rough and medium processing + manual polishing for artistic finishing.
This combination delivers both efficiency and craftsmanship.
How to Choose a Reliable CNC Machine Supplier
Buyers often compare multiple suppliers before making decisions. Based on real export experience, here are key evaluation factors:
Machine Structure Stability
Look for:
- Heavy welded steel frame
- Stress-relieved structure
- Vibration reduction design
A stable machine directly impacts carving surface quality.
Spindle Cooling System
For stone processing:
- Water-cooled spindle → better for long continuous work
- Lower temperature rise during granite cutting
Example:
During summer production environments above 35°C, water cooling helps maintain consistent spindle performance without thermal deformation.
Software Compatibility
A professional supplier should support:
- CAD/CAM integration
- 3D modeling software
- Remote technical support
Software flexibility determines how easily designers can convert ideas into finished stone art.

Real Industry Applications Around the World
Stone CNC machines are widely used in:
- European monument manufacturing workshops
- Middle East architectural decoration factories
- North American custom stone studios
- Southeast Asian sculpture production centers
Many workshops upgrade from manual carving to CNC systems after realizing they can increase productivity by 3–5 times while maintaining artistic quality.
Frequently Asked Questions About Custom Stone CNC Art
Q1: Can CNC machines really replace stone artists?
No. CNC machines assist artists, not replace them.
They handle:
- Rough shaping
- Repetitive carving
- Precision geometry
Artists still perform final polishing and creative adjustments.
Q2: What stones can be processed?
Common materials include:
- Marble
- Granite
- Limestone
- Sandstone
- Artificial stone
Tool selection and spindle power determine machining performance.
Q3: Is CNC suitable for small custom orders?
Yes. CNC technology is especially suitable for small-batch customization because programs can be reused without additional tooling costs.
Q4: How long does it take to learn operation?
Most operators can master basic machine operation within 7–10 days with proper training and technical guidance.
Q5: What affects carving surface quality most?
Key factors include:
- Machine rigidity
- Tool quality
- Correct cutting parameters
- Cooling system stability
Surface quality is rarely determined by a single factor.
Q6: Why do some CNC machines lose accuracy over time?
Common reasons:
- Weak machine frame structure
- Poor guide rail quality
- Insufficient maintenance
Choosing an experienced manufacturer significantly reduces long-term risk.
The Future of Custom Stone Art Manufacturing
The next generation of stone production is driven by:
- AI-assisted design
- 3D scanning replication
- Multi-axis automation
- Smart manufacturing integration
CNC technology allows stone companies to shift from material suppliers to creative solution providers.
Businesses that adopt digital stone carving today gain a major competitive advantage in high-value custom markets.
Conclusion
Custom stone art represents the perfect fusion of tradition and technology.
CNC stone machines empower manufacturers to:
- Produce complex artistic designs efficiently
- Maintain consistent precision
- Reduce labor dependency
- Expand into premium customized projects
In the modern stone industry, success no longer depends only on craftsmanship — it depends on how effectively creativity is transformed into precise, repeatable manufacturing.
And CNC technology is the bridge connecting imagination with reality.