You improve surface quality in WPC profile extrusion through five levers: defect diagnosis, process parameter control, material and additive selection, equipment maintenance, and quality control. Most problems trace back to a short list of familiar symptoms. Roughness, streaks, gloss variation, and weld lines appear on the surface of almost every profile line at some point. Each symptom points to a specific cause, and each cause has a practical fix. You will find concrete, actionable steps in every section, not general theory. Reliable equipment from builders such as SKY WIN makes those steps easier to hold. A stable WPC extrusion process, sound material choices, and co-extrusion where it fits all protect the final surface. Co-extrusion adds a protective layer, and correct settings keep that layer uniform.
Key Takeaways
- Identify surface defects early and trace them to process, material, or equipment causes.
- Control temperature and screw speed to keep the melt uniform and avoid surface flaws.
- Dry wood flour and choose the right additives to prevent bubbles and rough texture.
- Maintain dies and screws regularly to ensure consistent surface quality.
- Use co-extrusion or finishing steps to protect and enhance the surface when needed.
Diagnose Common Surface Defects
Roughness, Streaks, and Gloss Variation
Roughness shows up as a dull, grainy texture you can feel with a fingertip. Streaks appear as narrow lines running along the extrusion direction. Gloss variation reads as patchy light and dark bands across the same profile face. Weld lines form where melt streams meet and fail to knit. Match each symptom to its cause before you touch a single setting.
Tracing Defects to Root Causes
Group every cause into three buckets: process, material, and equipment. Process covers temperature, shear, and calibration. Material covers moisture, wood fiber content, and additive balance. Equipment covers die wear, screw wear, and vacuum calibration condition.
| Root Cause | Mechanism | Resulting Defect |
|---|---|---|
| Temperature variation across die face (±2°C) | Thermal gradients create uneven melt flow and gloss | Gloss differentials of 15 GU or more |
| Die gap non-uniformity (>0.05 mm) | Uneven flow velocity and stress points in the melt | Flow lines and streaks |
| Excessive cooling rate | Rapid skin freezing induces stress marks | Orange-peel texture |
| Unbalanced vacuum calibration | Uneven pressure during hardening | Wavy patterns and warping |
| Lubricant imbalance (±0.1 phr from optimum) | Excess internal lubricant accelerates degradation; insufficient external lubricant causes die buildup | Pinholes, haze, gloss loss |
| Insufficient fusion | Weak melt strength and poor homogenization | Rough, weak board surface |
Wood flour moisture stands out as a frequent culprit. Excess moisture in the filler causes bubbles, voids, and surface streaks. Particle-size variation adds to the problem. Check your die flow balance too. A small imbalance across a flat die produces density bands and uneven skin formation on wpc profiles.
Surface tearing in highly filled wood fiber composites responds to three fixes: higher shear rates, dried material, and increased wood fiber content. Run a WPC Profile Extrusion Line from a proven builder such as SKY WIN, and you gain the process window to apply these corrections without pushing the WPC Extrusion Machine into unstable output.
Optimize Parameters to Improve Surface Quality
Zone Temperature Control
Monitor each extrusion zone independently. A single drifting zone disturbs melt flow and shows up as a defect on the surface. The table below gives a working starting point for PVC-WPC.
| Barrel Zone | Target Temperature | Purpose |
|---|---|---|
| Feed zone (Zone 1) | 150–160 °C | Prevent premature melting and sticking |
| Compression and melting zones (Zones 2–3) | 165–180 °C | Melt polymer and encapsulate wood flour |
| Mixing zone (Zones 3–4) | 175–185 °C | Deliver a uniform melt without clumps |
| Degassing zone | 170–180 °C (slight dip) | Lower fluidity so vacuum does not pull melt into the vent |
| Metering zone | Slightly below mixing peak | Limit charring at the longest residence time |
| Die | 170–185 °C, a few degrees below metering | Avoid sagging when hot and flow lines when cold |
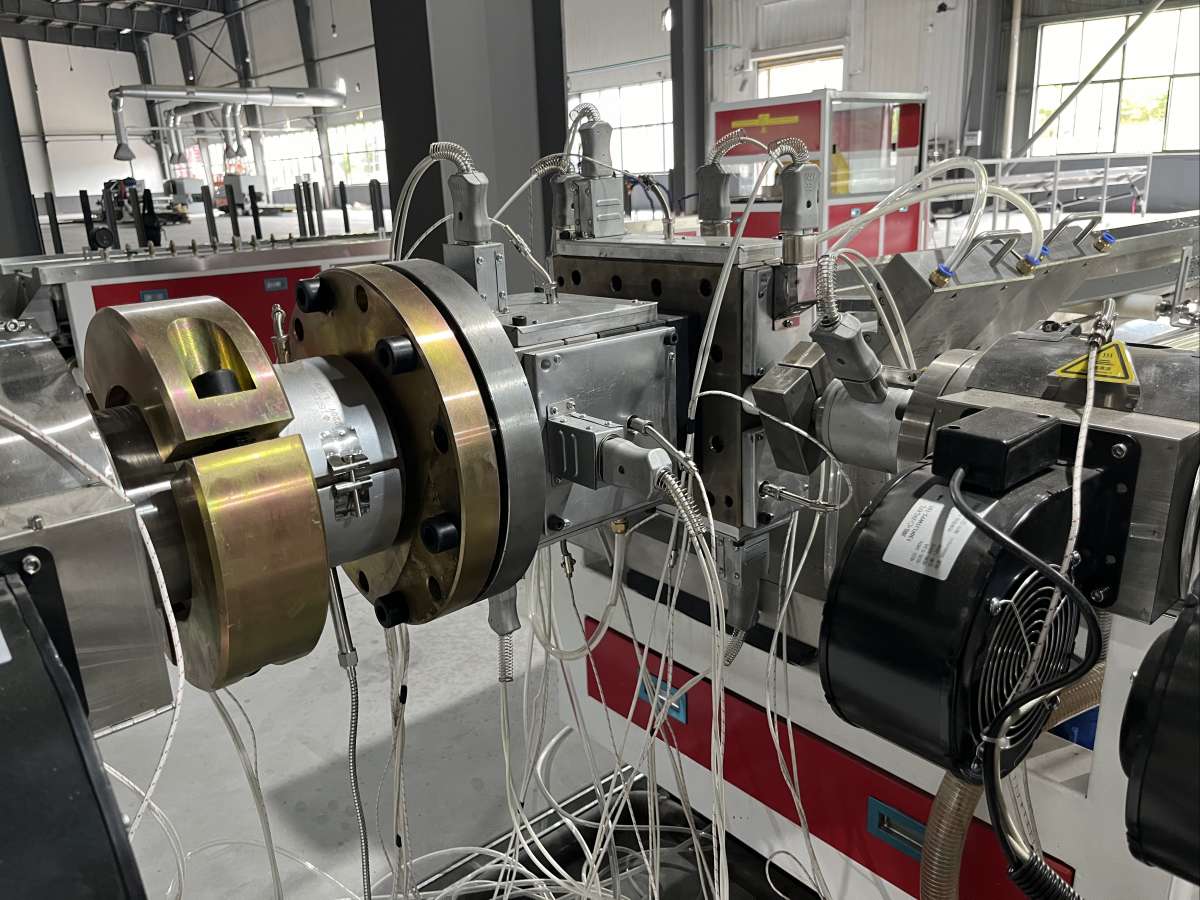
Gradually raise temperature through the middle and front zones. This ramp improves surface quality by giving the melt time to homogenize before it reaches the die. Balance die-zone heaters within 2–5 °C. Measure actual melt temperature at the die exit with a thermocouple or pyrometer, not barrel readings alone. If melt exceeds 195 °C, lower the hottest zone setpoints in 5 °C steps and let the line stabilize at least 10 minutes between changes. Watch the roughly 200 °C degradation ceiling for shear heat.
Screw Speed and Shear Balance
Screw speed sets both output and shear. Excess shear shortens wood fibers, darkens color, and roughens the surface. Run WPC lines slower than unfilled polymer lines: roughly 8–20 RPM for conical twins and 15–35 RPM for parallel twins. Match feed rate to screw speed so the flights stay full without overworking the melt. Twin-screw technology improves mixing and dispersion, and its self-cleaning screws prevent build-up that marks the surface. A capable WPC Profile Extrusion Line, such as those from SKY WIN, gives you the stable extrusion control this balance demands. If shark-skinning appears, raise the die zone by 5–10 °C or reduce speed slightly. Vacuum calibration then locks dimensions: tune vacuum and water zone by zone, and use tables with independent valves for high-quality profiles.
Select Materials and Additives for Surface
Wood flour type, moisture content, and polymer grade all shape the final surface you see at the die exit. Material choices also drive surface porosity and limit how far you can improve surface quality through settings alone. Treat formulation as a process variable, not a purchasing detail.
Wood Flour, Polymer, and Coupling Agents
Finer wood flour grades disperse more evenly and produce a smoother skin. Coarse grades leave visible fiber ends and a rougher texture. Moisture content matters just as much. Wet flour flashes to steam inside the barrel and leaves bubbles, voids, and streaks on the surface. Polymer grade sets melt strength and flow behavior. A grade with a melt flow suited to your line fills the die evenly and holds the profile shape through calibration.
Coupling agents tie the wood fiber to the polymer matrix. Maleic anhydride grafted polyolefins are common choices. Stronger fiber-matrix bonding reduces pull-out at the surface and gives a tighter, more uniform skin on wpc profiles.
Pre-dry every raw material before it reaches the hopper. Store wood flour and compound in a dry environment with sealed containers. This single habit prevents most rough or bubbly surfaces. A WPC Profile Extrusion Line from SKY WIN pairs well with a disciplined drying routine and holds a stable processing window.
Lubricants and Processing Aids
External lubricants are deliberately incompatible with the polymer melt. Thermodynamic exclusion and the shear gradient push them to the wall, where they form a thin, low-viscosity film. That film introduces wall slip, cuts frictional heat, delays sharkskin melt fracture at the die exit, and prevents adhesion in stagnation zones. This is how you avoid plate-out and die drool. In WPC decking extrusion, a formulation of zinc stearate combined with oxidized wax is cited as benefiting die pressure and finish.
Lubricant level must stay below the solubility limit. An overdosed migratory external lubricant is itself a common cause of drool and plate-out, and incompatible external lubricants should not be combined at high dose.
If a defect appears immediately on start-up and worsens with running time, suspect lubricant overdose or incompatibility. If a defect appears only at high output or after a shear-rate increase, suspect insufficient interfacial lubrication or missing processing aid.
Processing aids support melt strength at higher output. A co-extrusion cap layer can also mask minor surface variation on wpc profiles. Either way, balance flow and release first, then tune the finish.
Traditional WPC vs Co-Extrusion WPC Fence
The choice between traditional WPC and co-extrusion WPC fence comes down to the application, not to a winner. Traditional WPC fits cost-sensitive projects with a standard finish. Co-extrusion WPC fence fits projects that need greater wear resistance, color stability, and a more uniform surface. Both options serve real markets well.
Co-Extruded WPC Surface Benefits
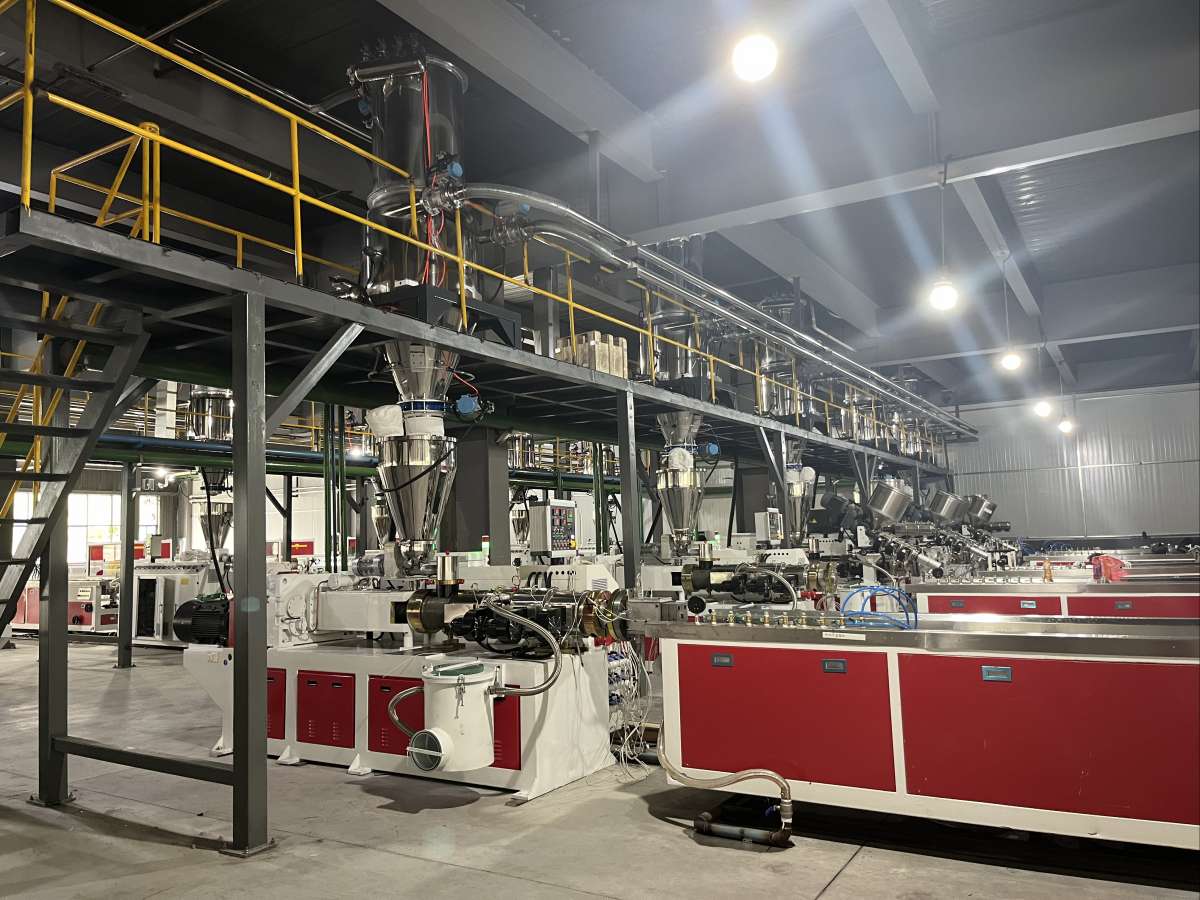
The co-extrusion process applies a surface layer with specific characteristics over the core profile. That separate cap layer carries the wear and weather duty, so the core keeps its structural job. Co-extruded WPC fence therefore delivers surface protection that uncapped WPC cannot match. The cap carries UV stabilizers and pigments, which lifts UV and color performance and protects long-term surface appearance. Full cap coverage also hides fiber ends on the exposed composite surface. A co-extrusion-ready WPC profile extrusion line from SKY WIN holds cap coverage steady run after run.
When to Choose Each Option
Choose traditional WPC for budget-driven work with a standard finish. Choose co-extrusion WPC fence for demanding outdoor exposure and uniform color. Compare traditional WPC vs co-extrusion WPC fence on wear, color, and cost before you commit. Either route benefits from post-extrusion work.
After extrusion, the profiles undergo finishing steps like sanding, coating, or painting to improve appearance and surface quality. Final quality control inspections ensure the product meets the required standards for performance, strength, and aesthetic appeal.
Optional online or offline embossing equipment adds textures such as walnut or marble by changing the roller. Sanding and wire drawing further refine the finish on wpc profiles. These steps raise surface quality on wpc extrusion lines of either type. A capable WPC Profile Extrusion Line makes every one of them easier to control.
Maintain Equipment and Control Quality
Die, Screw, and Calibration Care
Clean the die after every run. Disengage it, flush with fluid sheeting, then use a surface-neutral or catalytic flush suited to thermal and viscous agents. Avoid coarse abrasives and deep scratching. Polish the die periodically with fine abrasives and a mirrored finish to sustain laminar flow and limit adhesive wear. Store dies in a clean room below 40% relative humidity, using VCI bags and rigid racks. Before installation, check die alignment against the extruder mandrel for coplanarity, so mass flow stays uniform and the surface stays even.
Inspect screws and barrels at least every six months, and more often under heavy loads. Watch motor amperage at constant throughput and surging output between cleanouts. Pull the screw every 3,000 to 5,000 hours on standard resins, and more frequently with abrasive or regrind-heavy material. Use the first two pulls to establish the wear rate. Check calibration vacuum and water zones on the same schedule.
Inline Inspection and Documentation
Sample wpc profiles at fixed intervals and record gloss, texture, and dimensional readings. Log every defect with a photo, the time, and the zone settings. React fast: trace the defect to process, material, or equipment, then correct one variable at a time. These quality control inspections protect product quality across the run.
Identify bottlenecks early. Capable equipment, such as high-configuration WPC Profile Making Machine lines from SKY WIN, supports a consistent finish on every wpc extrusion line. A stable wpc profile extrusion line, sound co-extrusion setup, and steady surface protection steps all raise product quality. Track results, adjust, and repeat.
Consistent results come from one routine. Combine defect diagnosis, parameter optimization, material selection, co-extrusion choices where appropriate, equipment upkeep, and quality control. Small, systematic adjustments beat one-off fixes every time. A stable WPC Profile Extrusion Line from SKY WIN supports that discipline.
Start with defect identification. Match each symptom to its root cause, then work through each lever in order. Tune parameters, dry your materials, and maintain your dies. This sequence protects the surface run after run. A uniform finish rewards the effort.
FAQ
What Causes Rough Texture on a WPC Profile Surface?
Wet wood flour, cold die zones, and worn screws all roughen the surface. Dry your material before it reaches the hopper. Check each zone temperature. Inspect the die and screw for wear. Fix one variable, then recheck the surface. A co-extrusion wpc cap can also hide minor roughness.
Does Co-Extrusion WPC Improve Surface Quality?
Co-extrusion wpc adds a cap layer with UV stabilizers and pigments. That cap protects the surface and hides fiber ends. Run co-extrusion wpc on a stable line, and the surface stays uniform. Co-extrusion wpc also lifts wear resistance. Choose co-extrusion when appearance matters most.
When Should You Pick Co-Extrusion WPC Fence Over Traditional WPC?
Pick co-extrusion wpc fence for harsh sun, uniform color, and wear resistance. Traditional WPC suits cost-sensitive jobs with a standard finish. Co-extrusion wpc carries the weather duty, so the core keeps its structural role. Co-extrusion wpc also accepts sanding or coating to refine the surface.
How Do You Keep Surface Quality Consistent Run to Run?
Sample the surface at fixed intervals and log gloss, texture, and dimensions. Clean dies after every run and store them dry. Trace each defect to process, material, or equipment. A stable WPC Profile Extrusion Line from SKY WIN supports that routine and protects the surface finish.
Can You Repaint a Co-Extrusion WPC Fence Profile Later?
Yes. Lightly sand the co-extrusion wpc fence surface, then apply a suitable coating. The cap layer takes paint well. Test adhesion on a small area first. Co-extrusion wpc profiles keep a uniform surface, so repainting restores appearance without replacement.